New Ilur project
tony o'connor

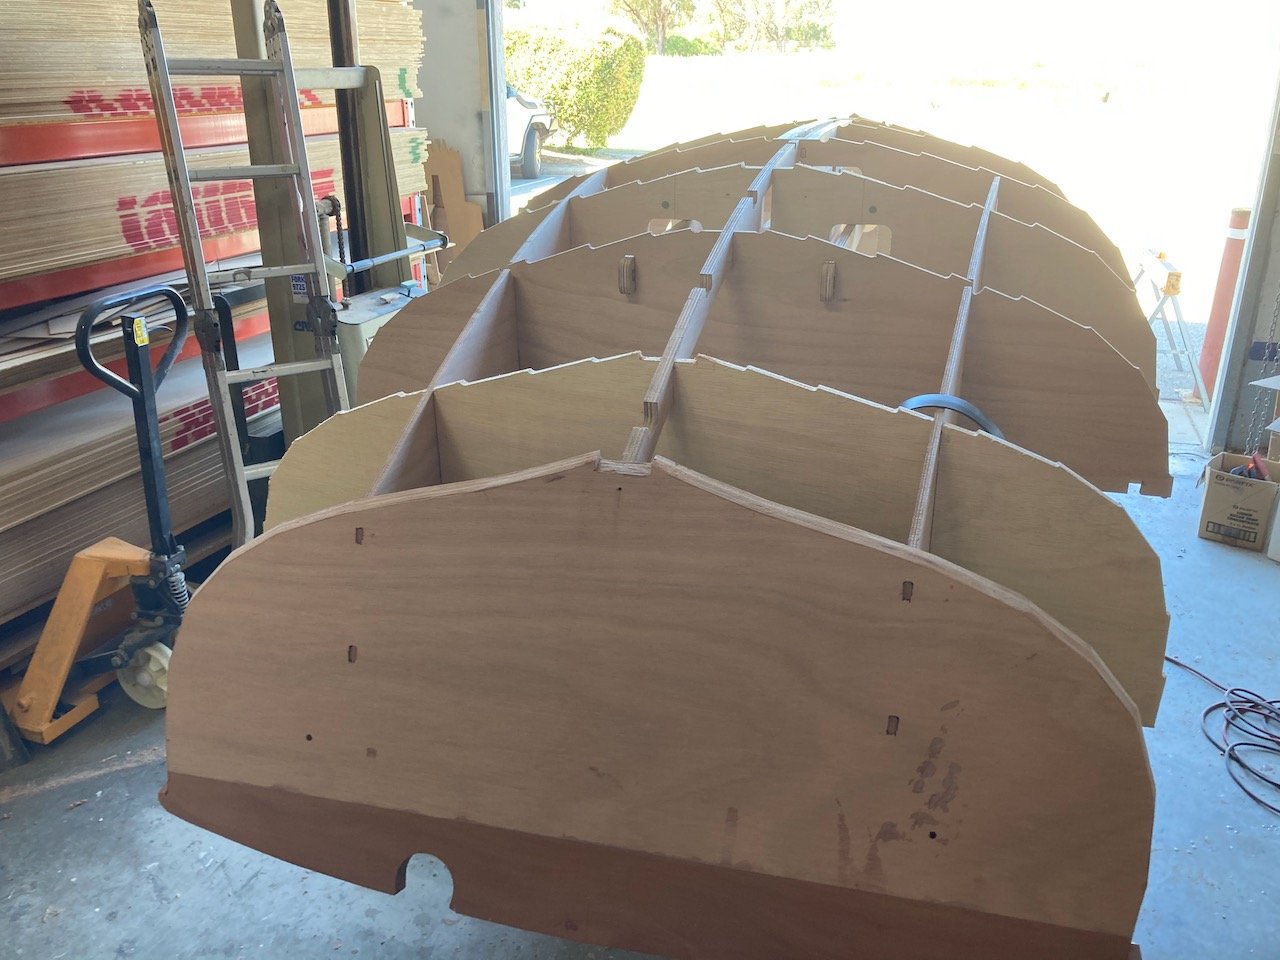
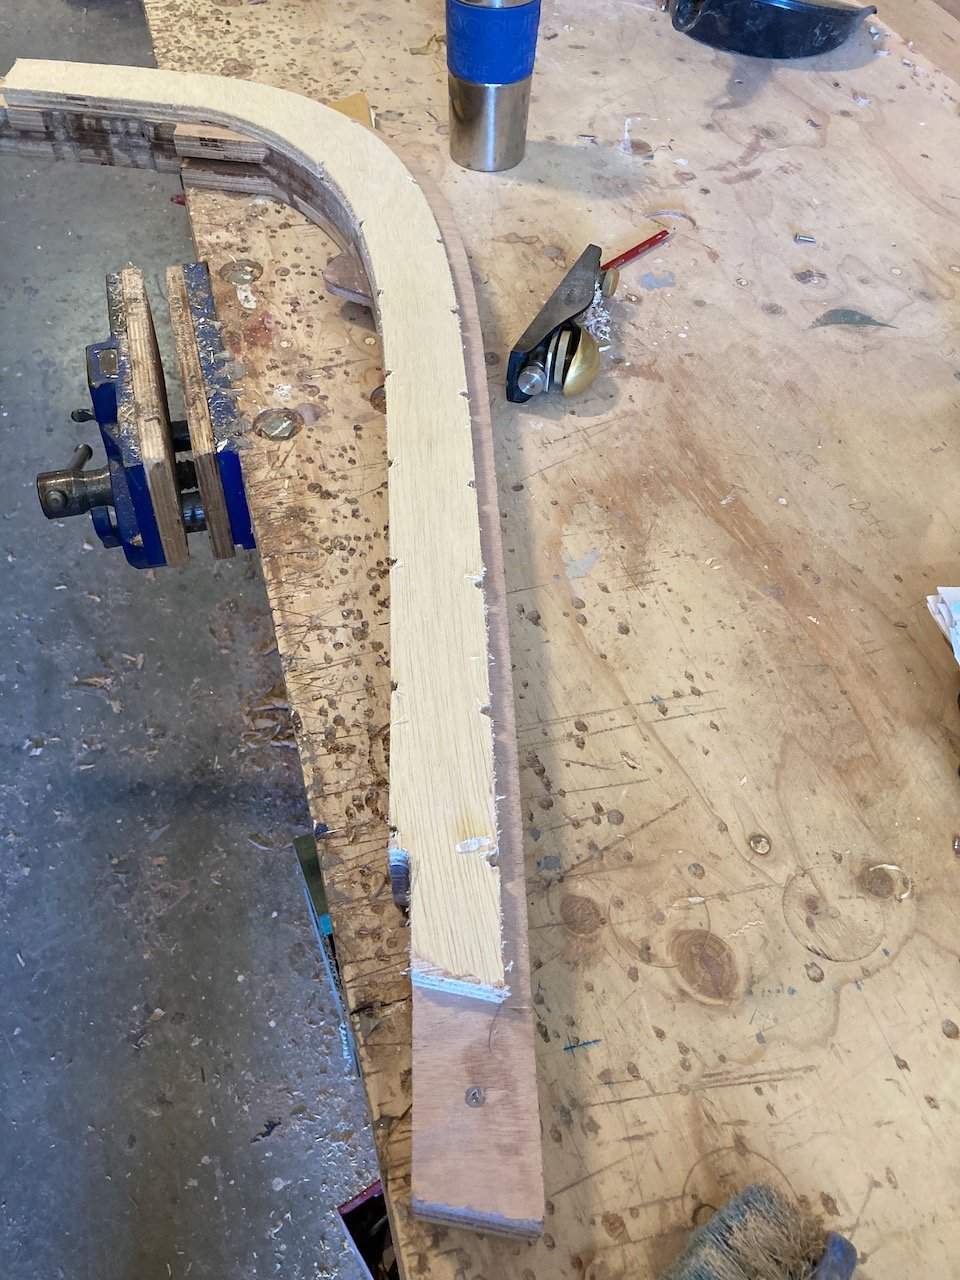
Sheer (or whiskey) planks fitted.
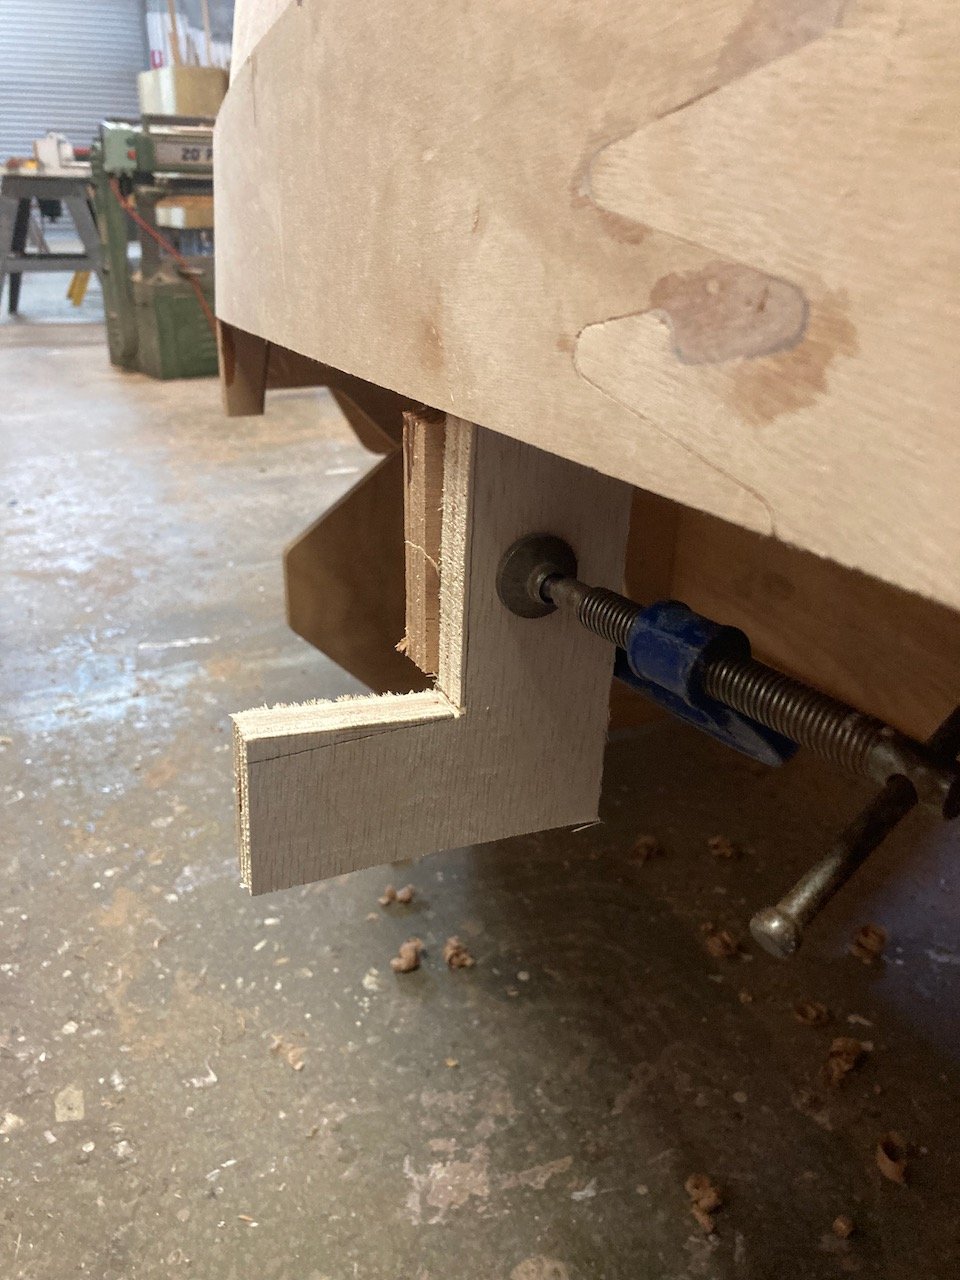
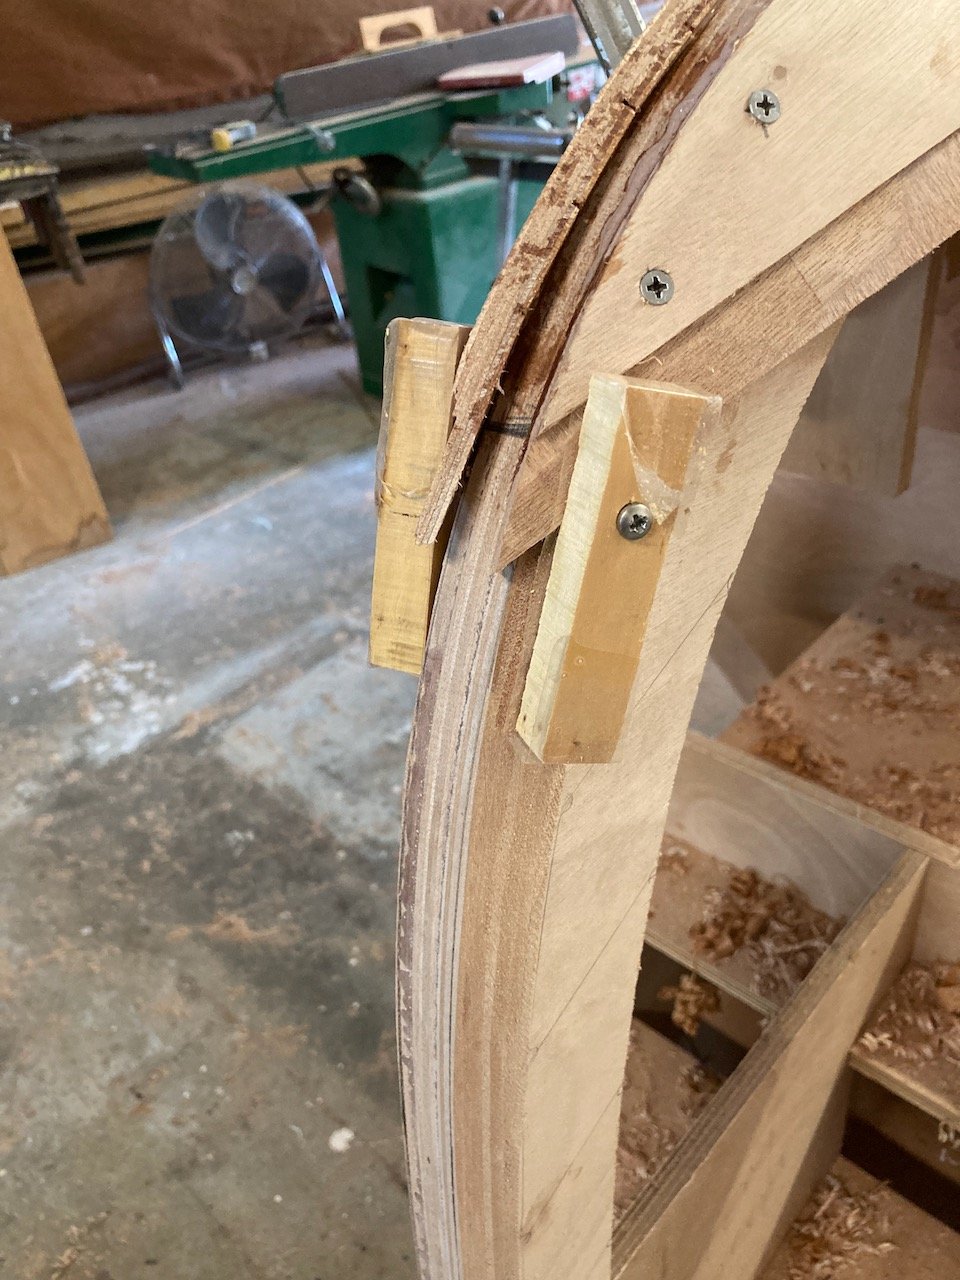
L brackets clamped in place to support the sheer plank.
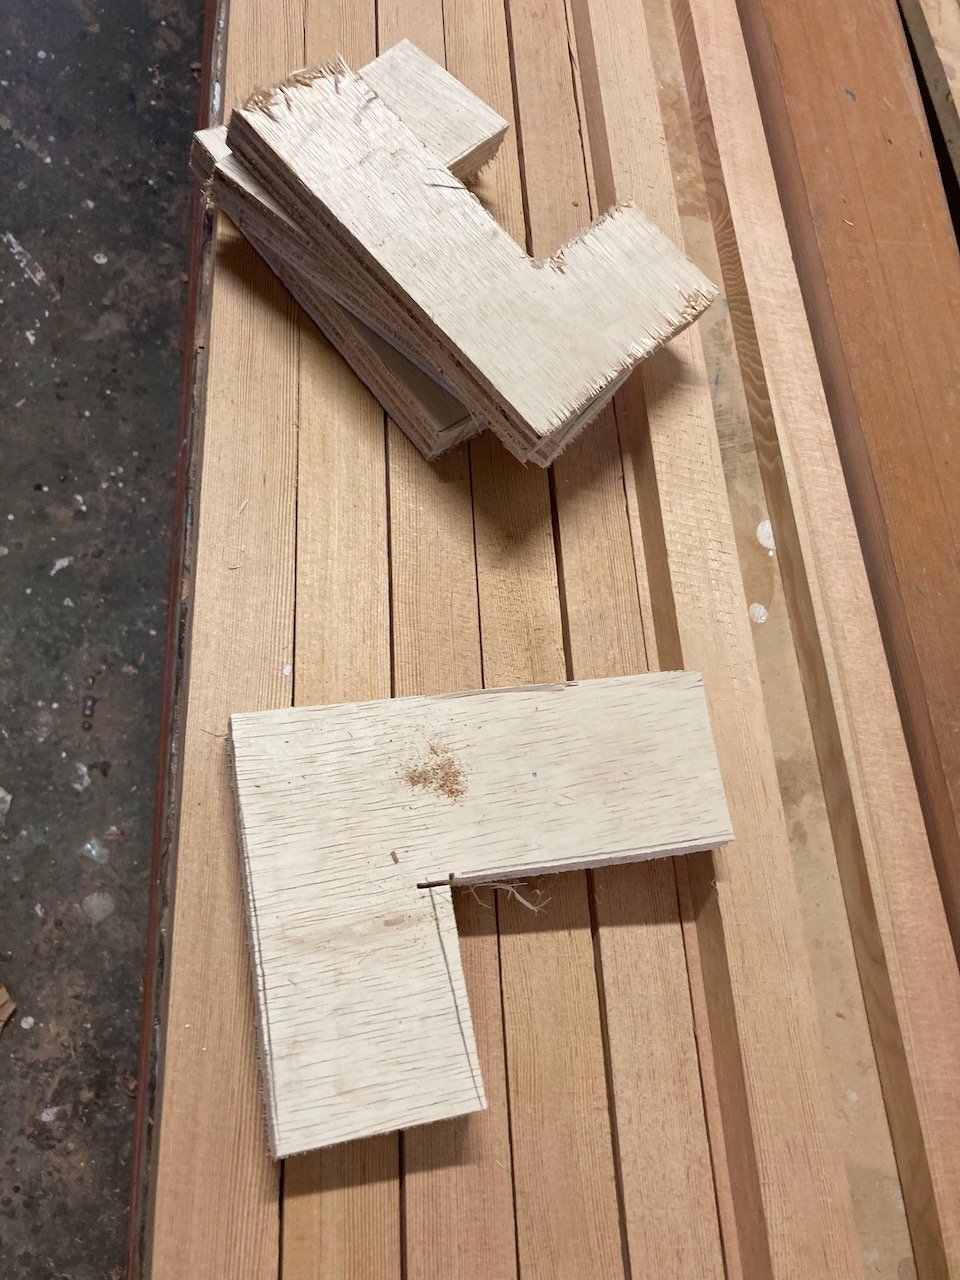
L brackets to support sheer planks
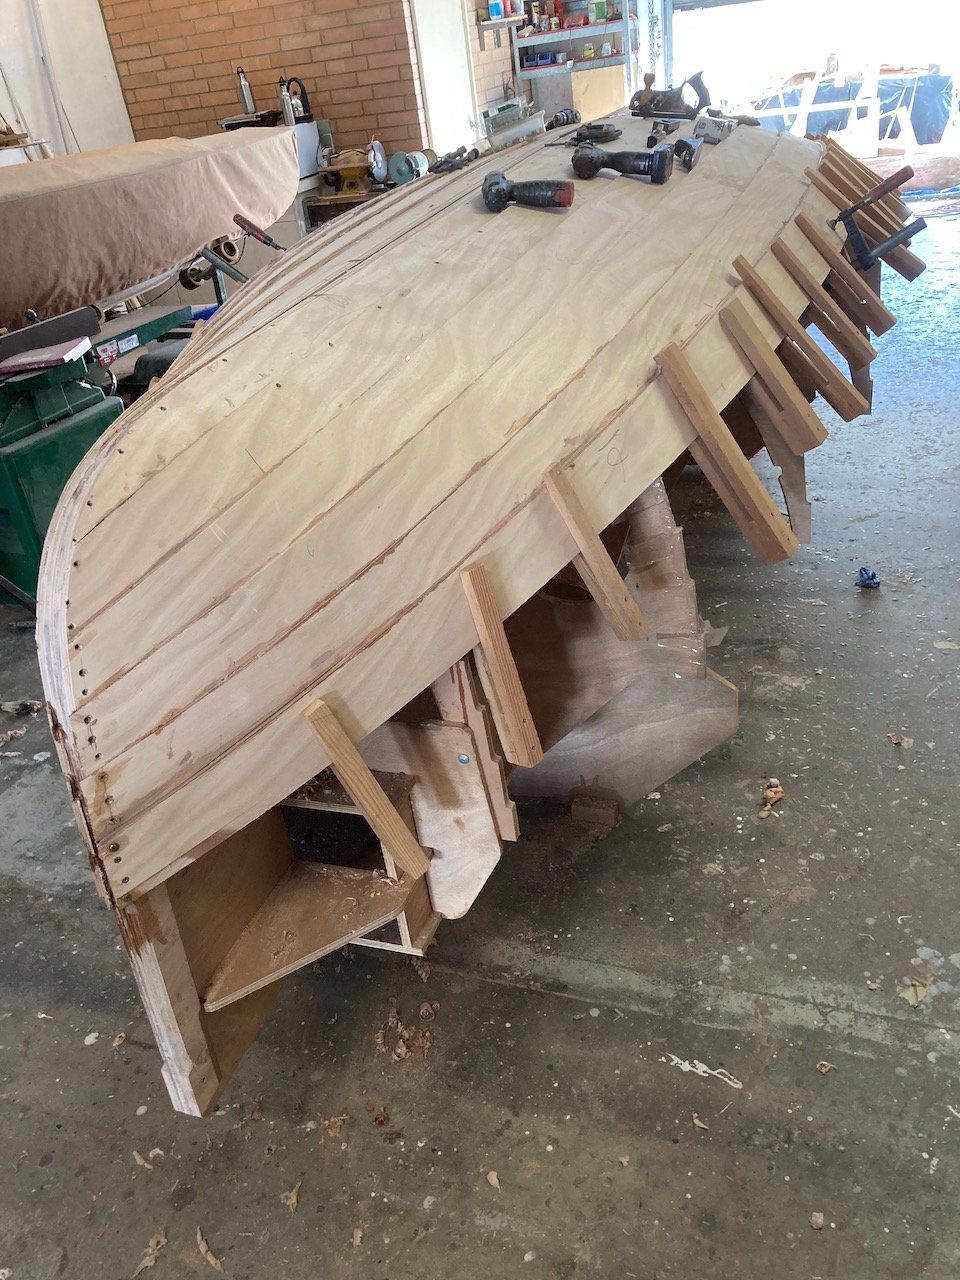
Second last planks fitted.

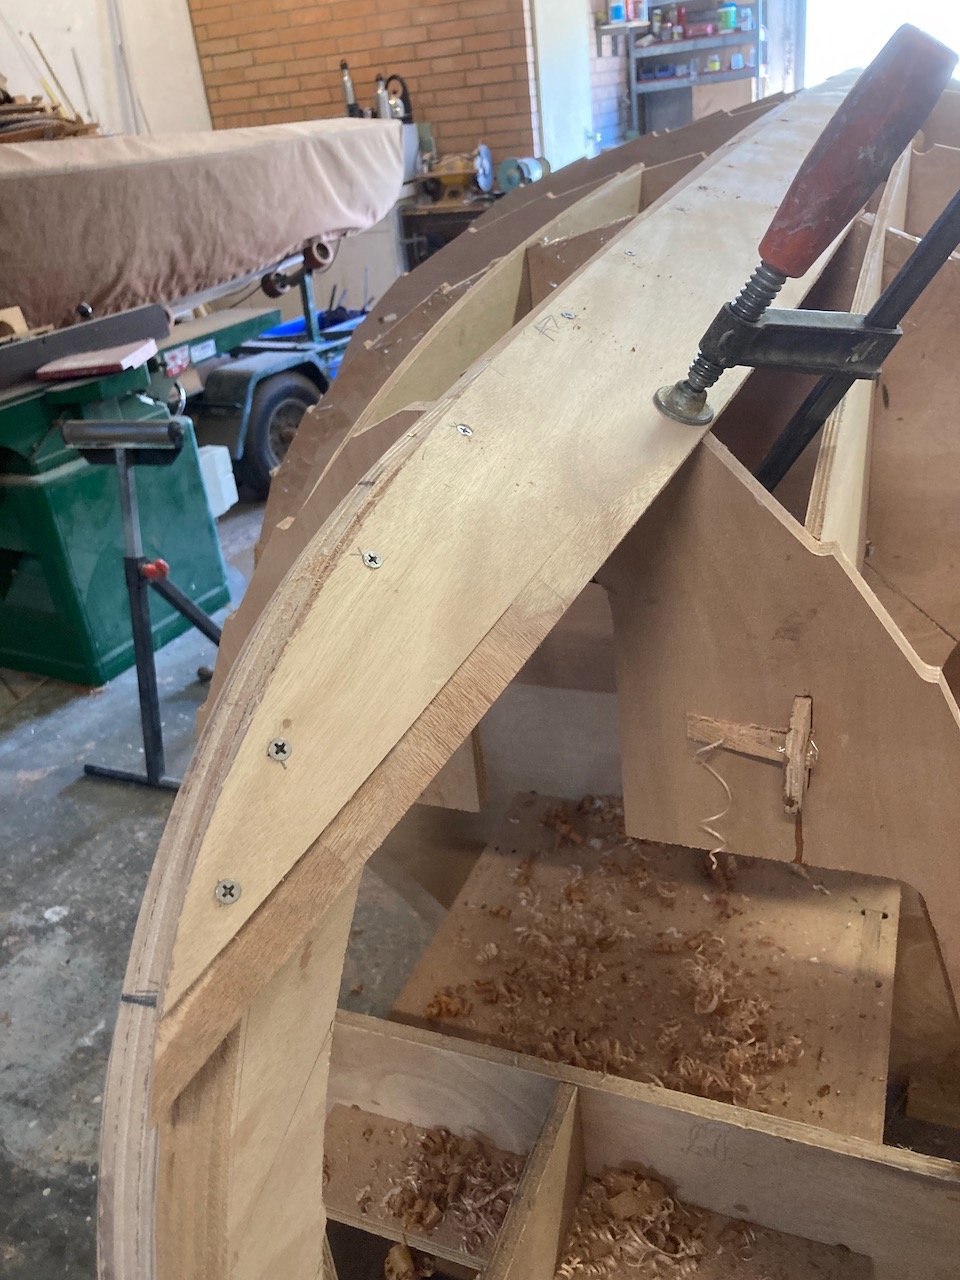
Combination of screws, pegs and clamps to fit planks.

In places where i can’t use pegs I use button head screws to hold the planks together until the glue goes off.

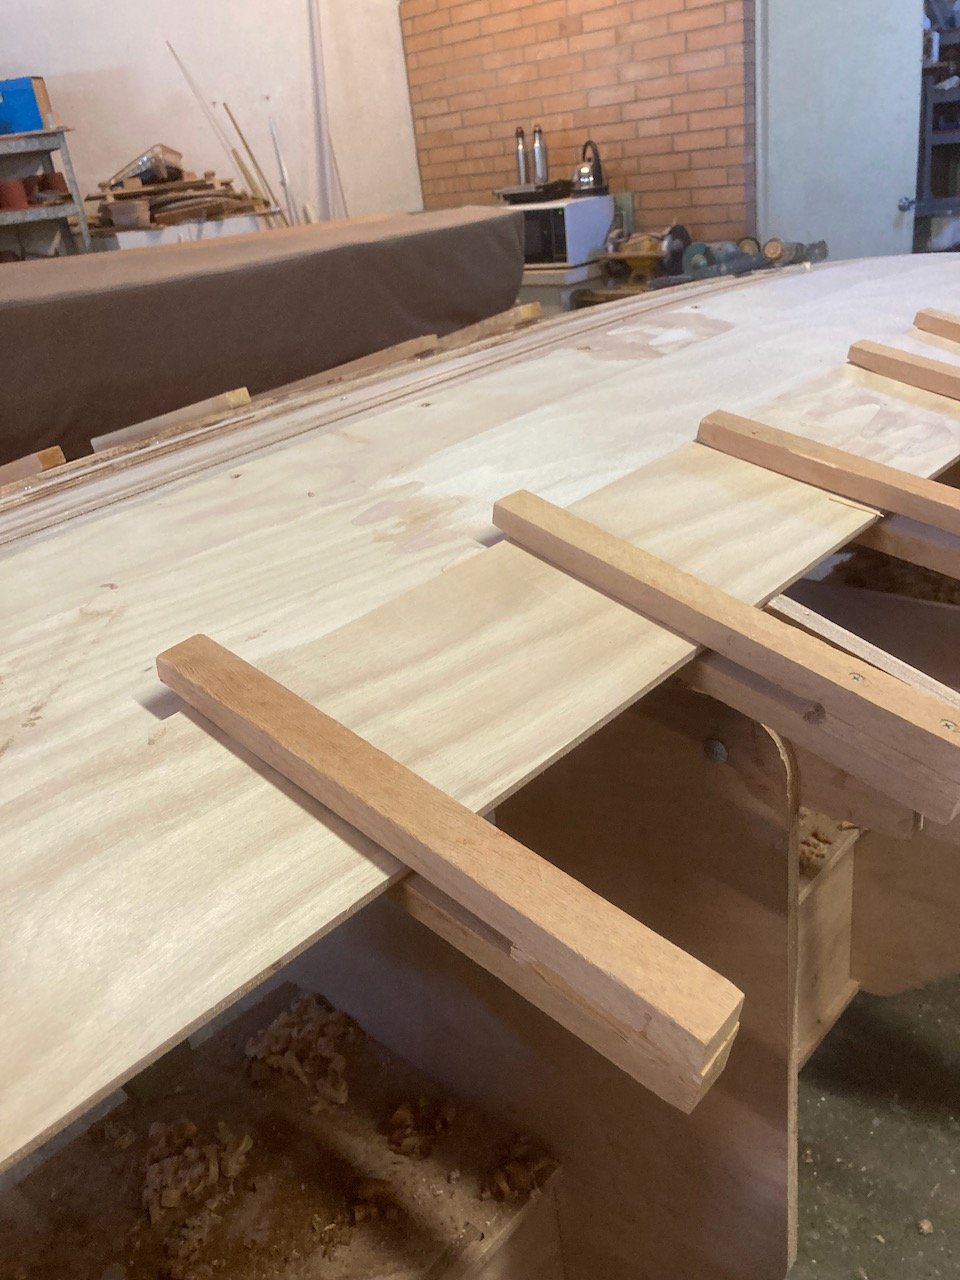
I use home made wooden clothespegs to hold planks in position where possible.

To get the bevel on the keel as well as some of the planks I cut in with a saw parallel to the frame where the next plank will lie, and then use these cuts as a guide for planing the bevel .

Lining up the next plank
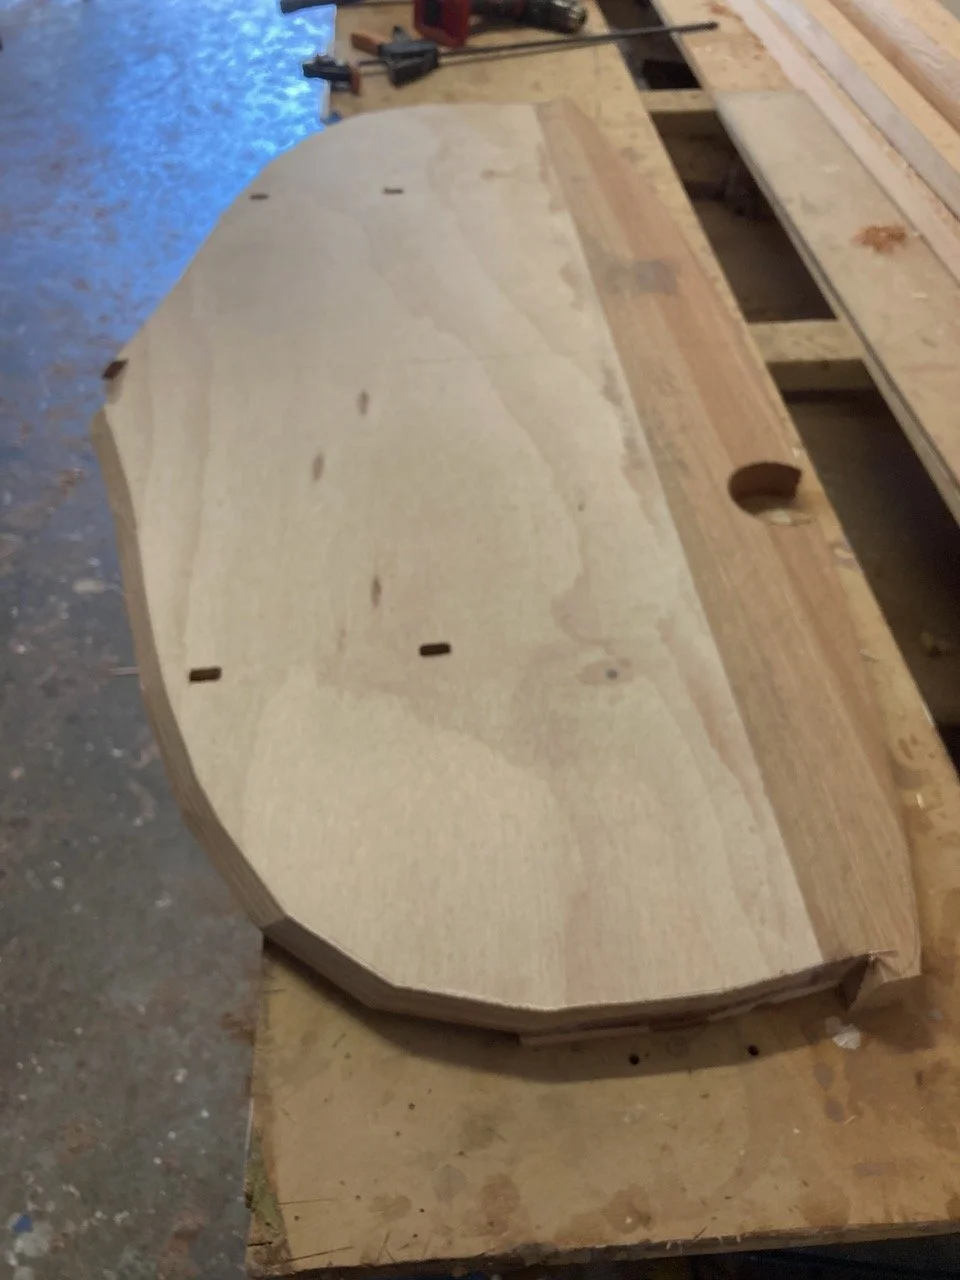
Fitting the garboard.
I use some small pieces of wood to pull in the rebated end of the lower planks as i find this helps avoid any splitting at the rebate

The first planks, the garboard and plank no.1 are the most difficult to fit as the twist at the stem is quite pronounced, I usually “kerf” the inside of these planks by cutting a series of shallow lines with a fine saw these cuts allow the plank to twist more easily and they will be filled with epoxy later so there is no appreciable loss in strength.
The Ilur has a very robust building frame with temporary folds and bulkheads slotted into a sturdy box , with centreboard case and transom already fitted.
This will be my third Ilur build so I thought it would be a good idea to do a blog. I will try to keep it updated as I go but I do struggle with media of all types but hopefully any other people building an Ilur will find this helpful and it may also be useful for people building epoxy clinker boats in general
TRANSOM
Before beginning construction there are several bits to be made off the jig, one of these is the transom which is made of two layers of plywood ,a pattern for the solid wooden top piece comes with the cnc kit and is rebated onto the plywood parts, another pattern enables the builder to mark out the bevel on the back of the transom.
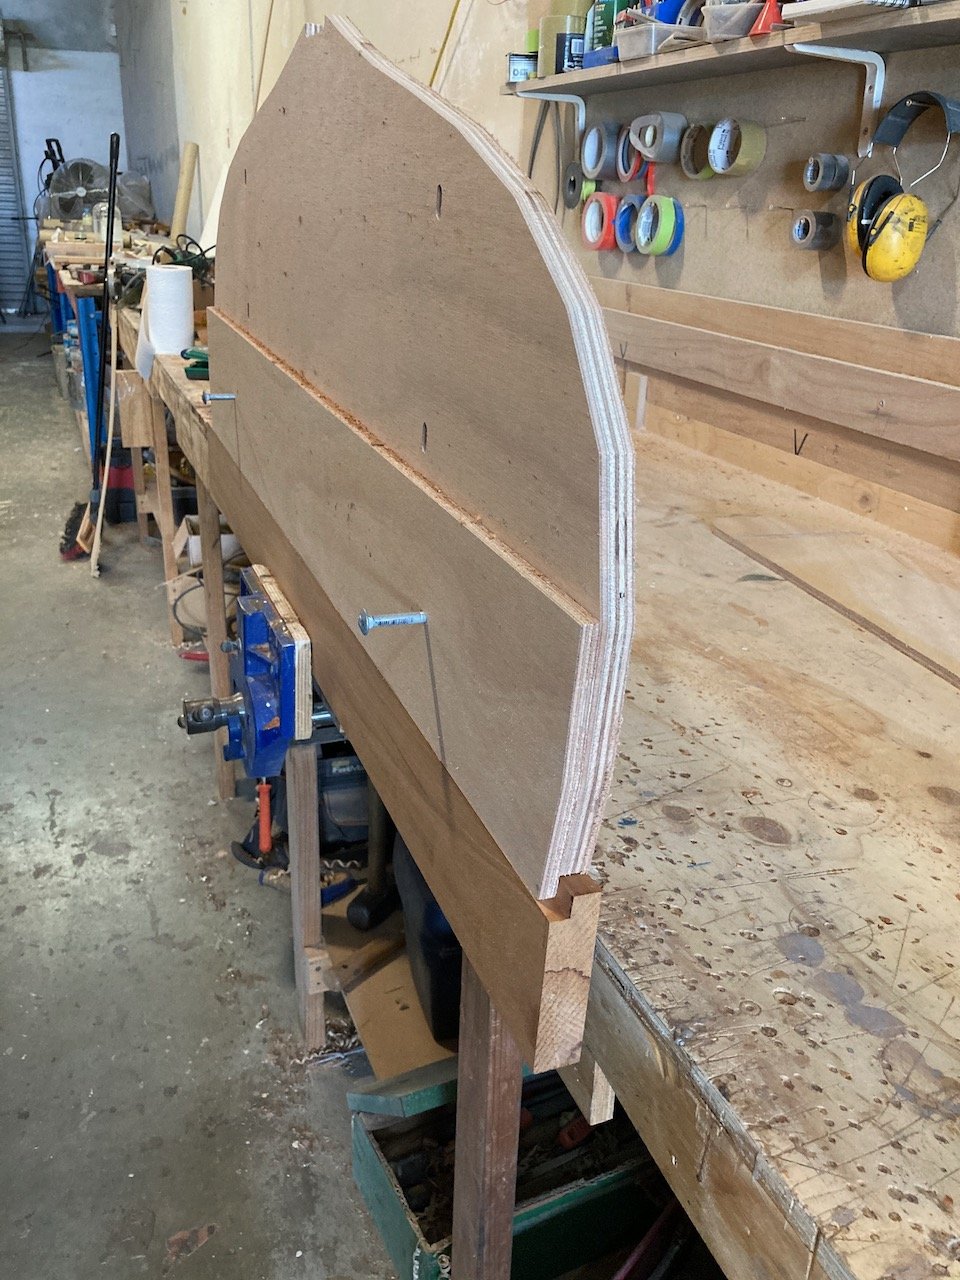
Another view of the transom construction, showing the inner plywood piece which makes the rebate for the solid wood, this is located using cnc cut holes in both with a bolt temporarily locating them in the correct alignment, the rebated solid piece is then attached afterwards.
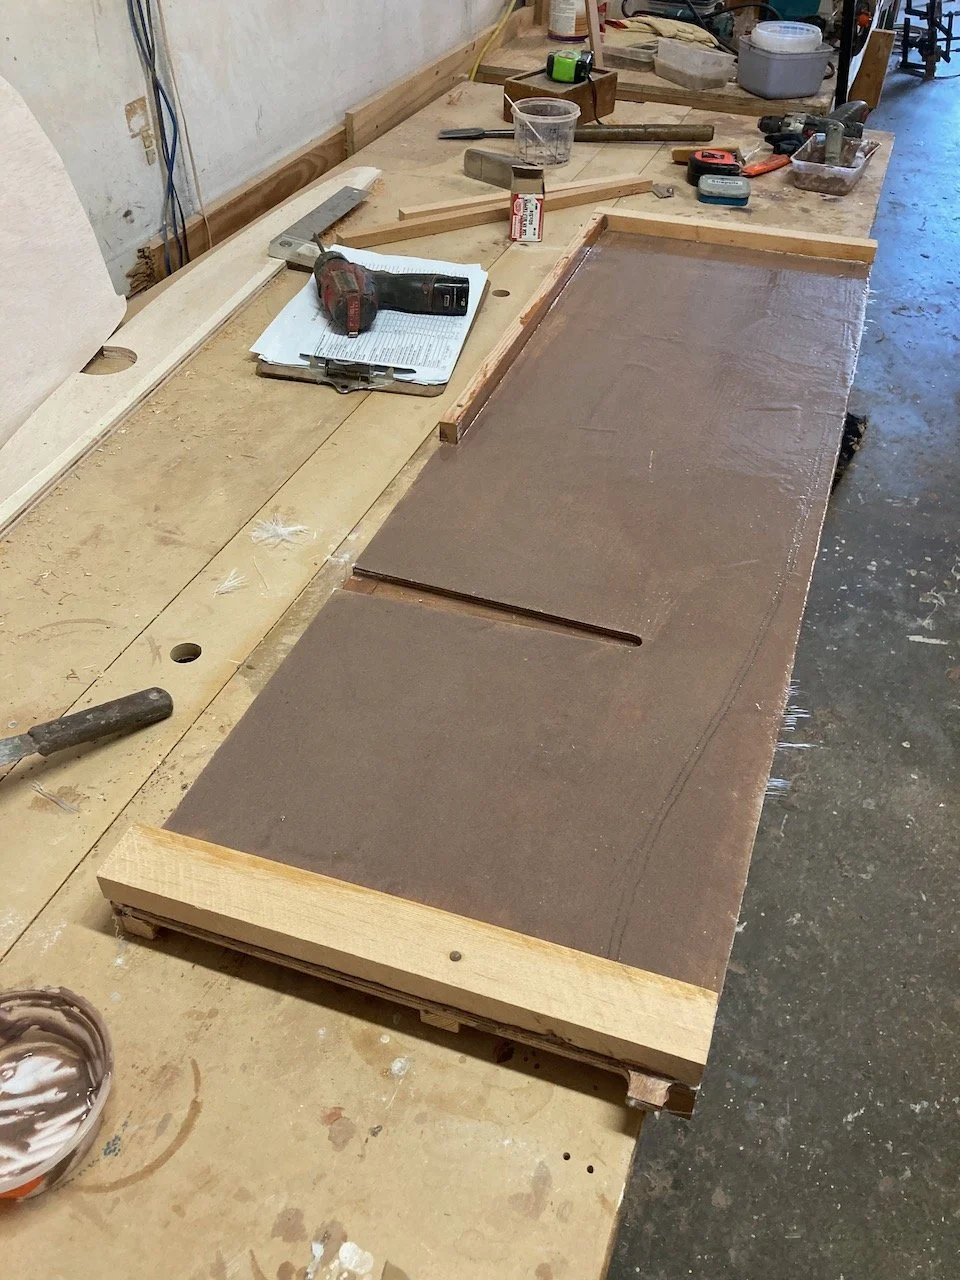
CENTREBOARD CASE
Another part that needs to be made prior to assembly is the centreboard case which is glassed inside before being glued together, and is then bonded into the building frame before planking.
Fitting end logs prior to assembly
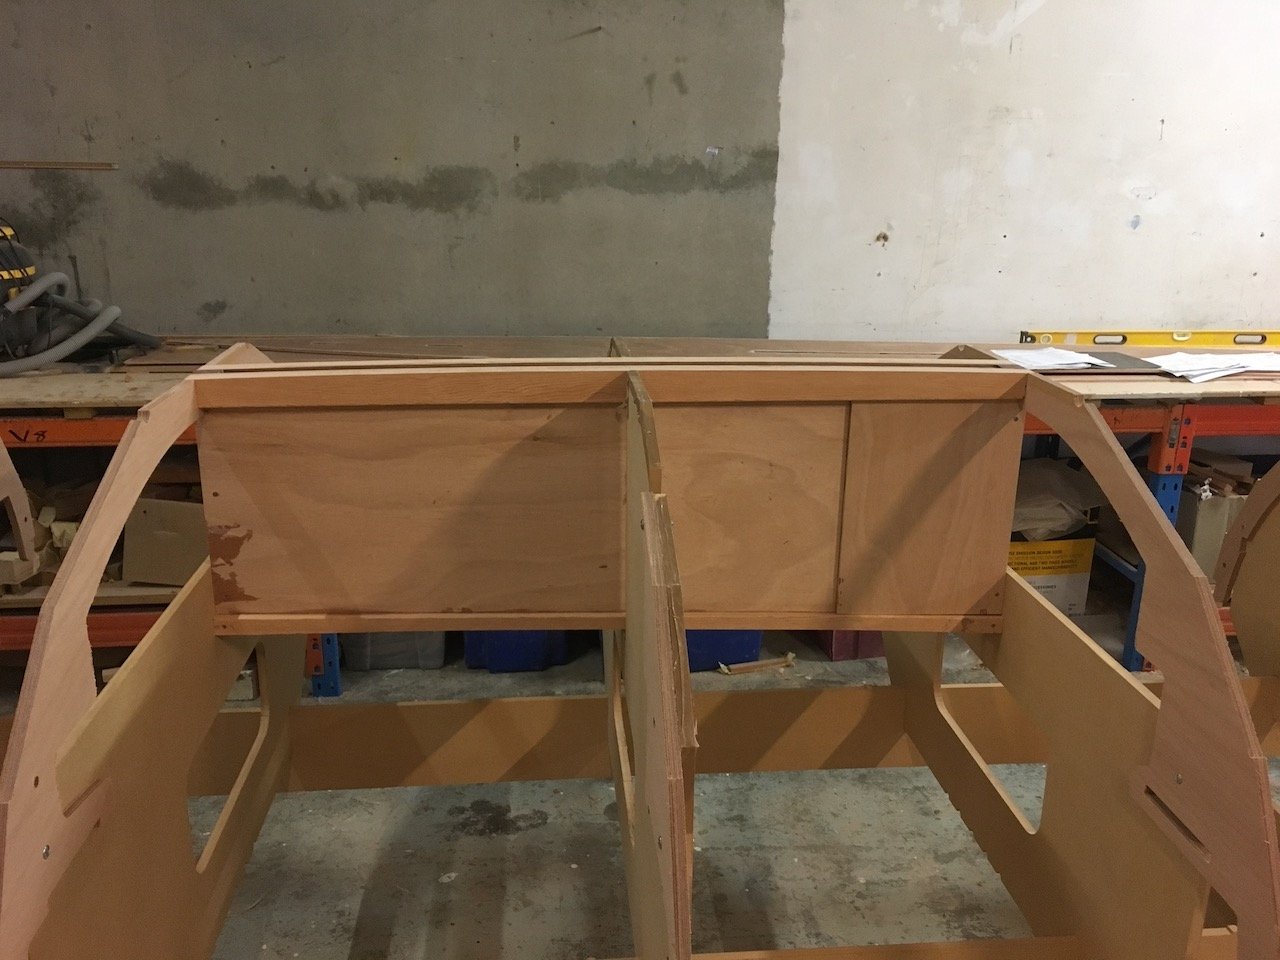
Completed centreboard case fitted to frames
STEM
The inner stem is made from three pieces of cnc cut plywood, a pattern for the bevel comes with the kit but before bevelling we use the inner stem as a jig to laminate the outer stem.
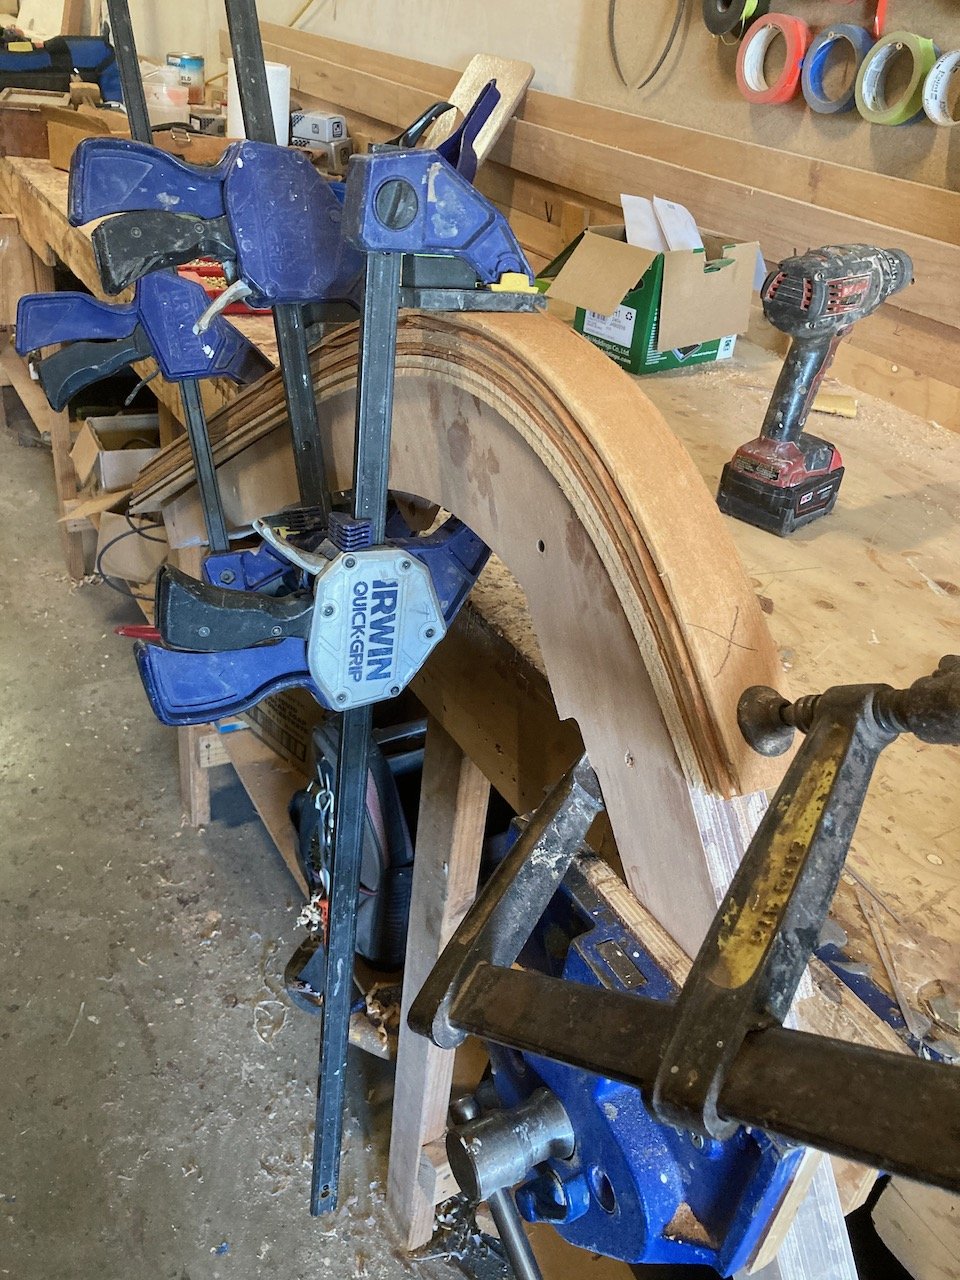
Laminating the outer stem
Marking bevels and plank positions on inner stem using a pattern supplied with the kit