Planking 2, garboards.
tony o'connor
The garboards have a lot of twist forward, and are substantially wider than all the other planks.
I decided to fit them in stages, fitting the forward panel first, and glueing the middle and aft panel together on the bench to attach later.
Forward panels being fitted, a couple of screws with washers attach the planks to the stem in their correct position, the wooden blocks on the frames hold the planks in place at an angle to avoid twisting the planks while screwing to the stem.
Planks fixed down in place without the aft ends attached. I also used some screws in the frames to hold the planks in position.
From the side.
The sole and garboard are attached stitch and glue style, this is the froward panel being glued in, I used copper wire from a local electrical shop to hold the panels together as well as the clamps and screws.
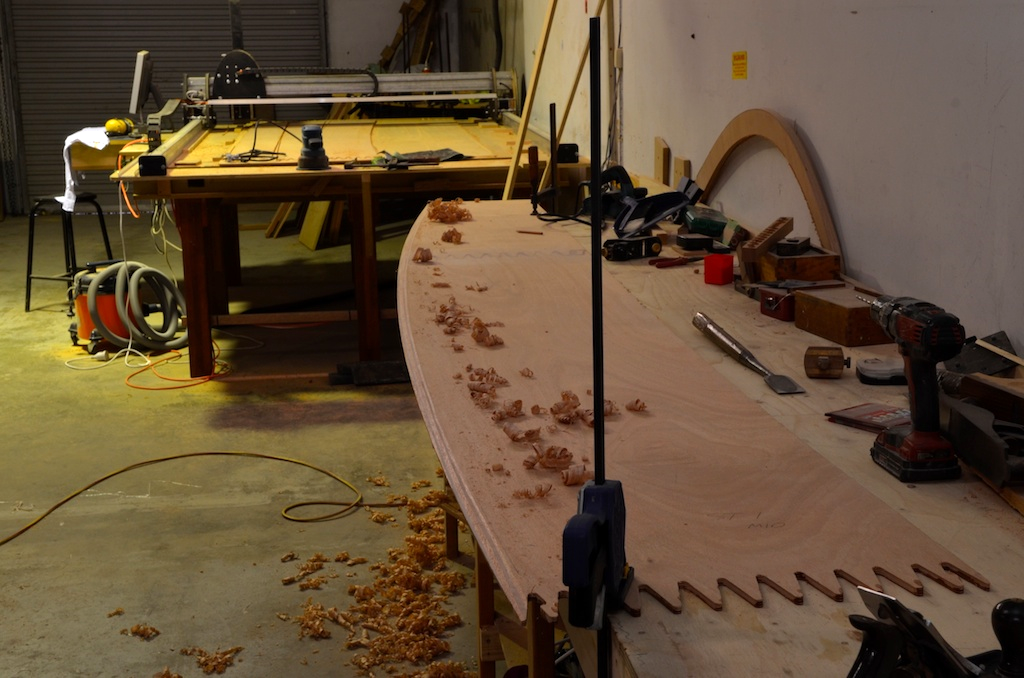
I forgot to bevel the forward ends before fitting, here is the middle and aft panels already glued together, being bevelled, It is much easier to bevel on the bench than on the boat.
Dry fitting the forward end to the rest of the plank.
The plans call for the sole-garboard to be glassed after planking is completed, but I decided to glass them at this stage as they are more accessible now, this is why I haven't fitted the side shelves yet too.
After the planks are glued in, the joint between them is glassed with a double bias tape, I also glassed the keel sides at the same time, here we are preparing to glass the bottom, the green tape is on the areas not to be glassed.
!st layer is a 300gram double bias cloth.
Ably assisted by Rory.
First layer wetted out, now the next layer.
2nd layer is a lighter biaxial cloth.
Finally the cloth is covered with peelply and a couple of hours later when the resin is at the "green" stage the cloth is trimmed back to its final size.